
a photo tutorial from the First Ziggurat Book
Most Ziggurats feature this buttonband. I have tried variations but keep coming back to this one because it just works – and works well for all weights of yarn.
It may seem unusual to knit the buttonband with the same size needles as the Body. Not to worry. The slipped stitches in the buttonband keep it all together at the right tension.
THE GIST
The buttonband is setup in Step 4 (ususally) after you have picked up stitches for Left Front.
Provisional stitches are cast on to introduce the buttonband which is knitted along with Left Front, then knitted and attached around the Back Neck up to the Right Shoulder (Step 4a), from where it is knitted along with Right Front (Step 5).
From here the buttonband is knitted along with Body and yoke shaping.
At the desired neck depth (or where instructed in the pattern) you create the small overlap of Fronts and also the first buttonhole.
At this point Front stitches are set aside and you work the 8 buttonband stitches. You are preparing extended bits of buttonband along whose lower edges stitches are then picked up – both to create the vertical buttonbands and to add the number of required Front stitches to match the Back.
(This corresponds to the cast on for joining to knit in the round on pullovers.)
note: on some recent Ziggurat cardigans I have chosen to set up the buttonband at centre back to be worked in opposite directions to meet up with left and right front, respectively.
abbreviations
| CC | contrast colour |
| k1 | knit 1 |
| k2tog | knit 2 stitches together |
| ksk | k1, sl1wyf, k1 |
| MC | main colour |
| p&k | pick up and knit |
| p1 | purl 1 |
| sks | sl1wyf, k1, sl1wyf |
| sl1wyf | slip 1 stitch purlwise with yarn in front |
The photos show a contrasting buttonband for clarity. Most cardigans in the book do not have contrasting buttonbands.

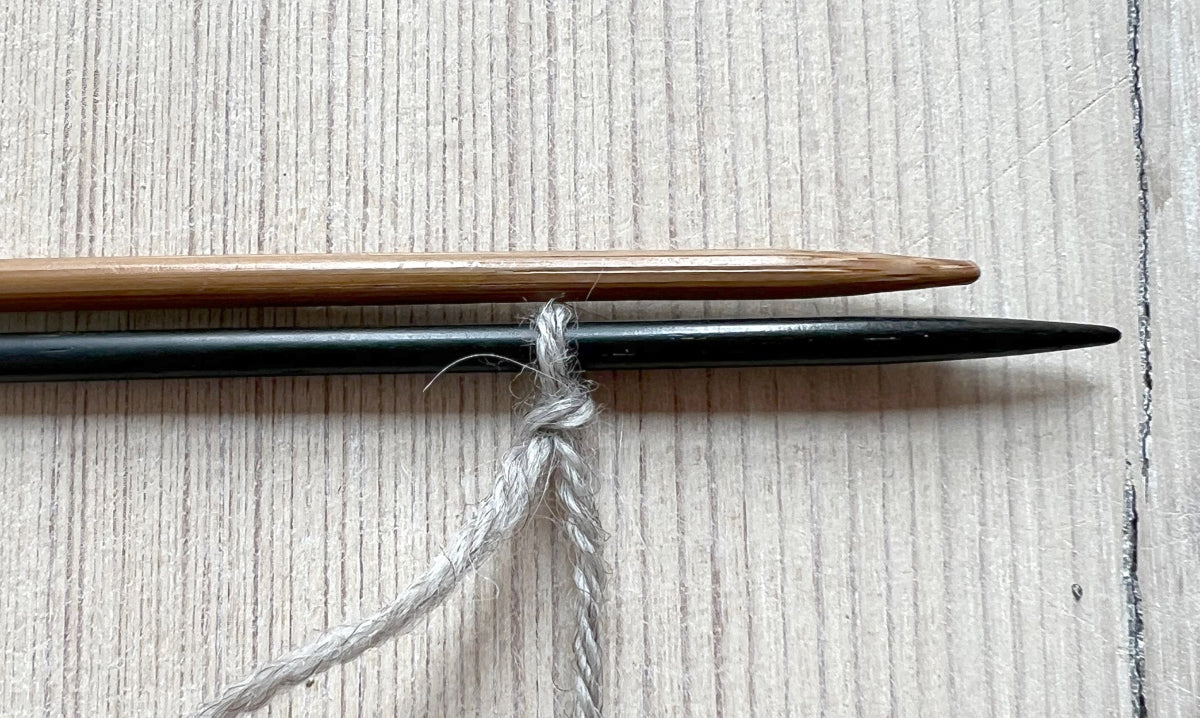
1. Continuing on the WS row (after picking up Left Front Shoulder sts): place a CC slipknot on an additional circular (N2).
Place N2 below working needle (N1).
note: for cardigans with MC buttonbands, wind on stitches with working MC without first adding a slipknot.
another note: for end-obsessed knitters like myself: before making the slipknot, wind off and leave attached a small ball of yarn from your CC ball, then make the slipknot and work with the smaller ball, leaving the larger attached at the shoulder.
Wind on 8 sts (see Tutorial for Winding cast on).

2.Work the loops according to pattern as if they are normal stitches.
Cardigan Buttonband R1 (RS): ksk, k1, ksk, p1. 8 sts
This first row locks the loops in and creates the provisional stitches on N2 cable.

3. At the colour join always lay old (white) colour over colour join new (yellow), bring new up from under.

4. Buttonband is worked along with Left Front (RS view).
5. Lay old (yellow) yarn over new (white), bring new yarn up from under (WS view).
6. The colour join viewed from WS.
At the end of Step 4 you pick up stitches for the left sleeve cap, then work your way across the back and pick up stitches for the right sleeve cap.
In Step 5 you pick up stitches for right front shoulder and work the right front.
You need to get also your buttonband to work it along with the right front.
STEP 4A: WORK IN THE OPPOSITE DIRECTION
Work buttonband in the opposite direction along back neck to Right Front Shoulder

- For MC buttonbands: join new MC
- For CC buttonbands: use already attached CC (that is, it is attached if you wound off a small ball from the main ball when setting up the buttonband)
1. N1: Work the provisional stitches (orange arrow) on N2 as follows:
R1 (RS): slide off and discard slipknot (pink arrow), k2tog, sl1wyf, k3, sl1wyf, k1tbl. 7 sts
note: to make the stitch pattern line up nicely, you may want to place your decrease in another place than suggested above. It may be that an ssk is more suitable for your stitches.
2. Attach the buttonband along Back Neck on every RS row – attach to approx 3 of 4 stitches, working the RS & WS rows below.
RS: p&k1 in Back Neck and place on LN, k2tog (picked up stitch & buttonband stitch), sl1wyf, k2, ksk.
WS: (sl1wyf, k1) x 3, sl1wyf.
 DETAIL OF ATTACHMENT
A. pick up & knit 1 st in Back Neck, place on LN.
B. k2tog (picked up stitch and buttonband stitch)

3. Knit and attach buttonband around Neck up to 1 stitch before Right Shoulder.
End with a WS row.
Step 4a is complete.
STEP 5: RIGHT FRONT

Pick up & knit Right Front Shoulder stitches (with MC), with CC pick up & knit 1 new stitch in buttonband, work the 7 buttonband stitches:
ksk, k1, ksk. 8 buttonband sts
Continue to work buttonband RS & WS rows (below) along with Right Front.
RS: p1, ksk, k1, ksk.
WS: (sl1wyf, k1) x 4.

In this photo Step 5 is complete and a few rows of Step 6 are done.
(All cap stitches have been picked up, and there are sleeve and neck increases.
Continue to knit buttonbands in Step 6 along with Sleeve and Neck increases.
Part Two: BUTTONBANDS & CENTRE FRONTS 'CAST ON' (i.e. pickup)