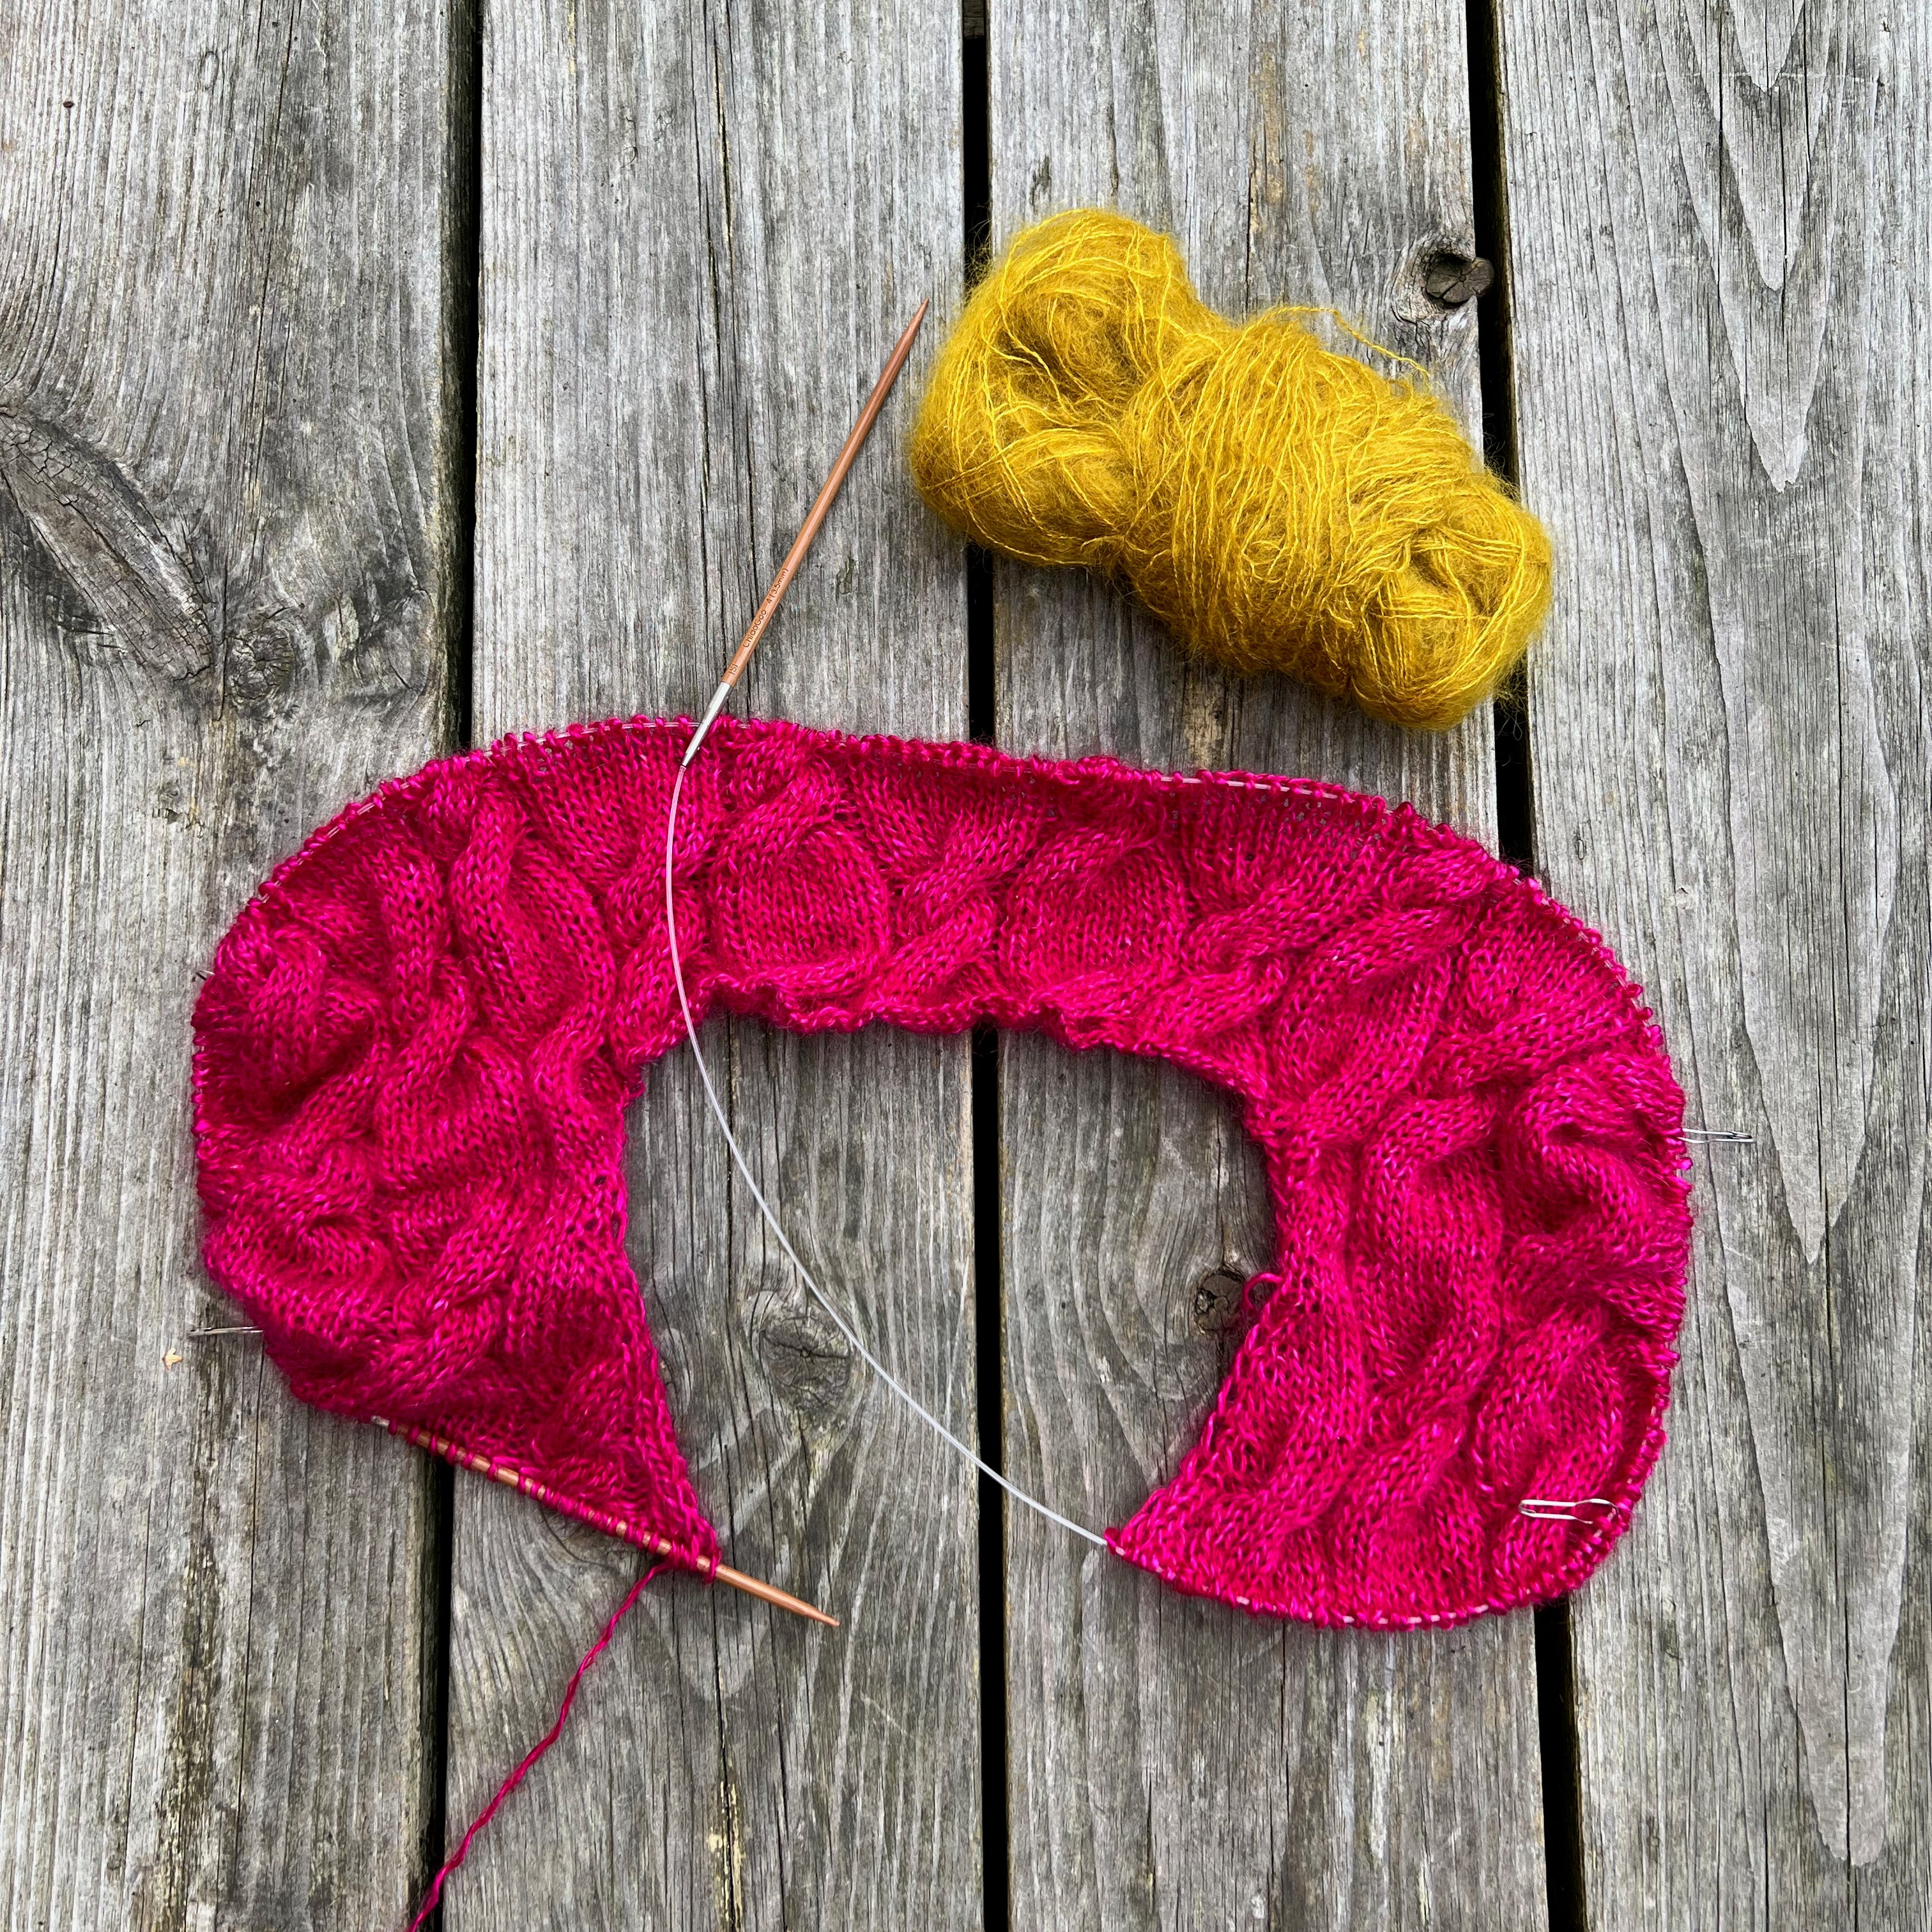

a photo tutorial from the First Ziggurat Book
see this tutorial for setting up the buttonband
LEFT BUTTONBAND

1. Set Front stitches aside.
Knit an extension of the buttonband as follows:
RS: ksk, k1, ksk, sl1wyf.
WS: (k1, sl1wyf) x 4.
Work to length stated in your pattern (that is, long enough for picking up as many stitches as you need to match Back stitches).
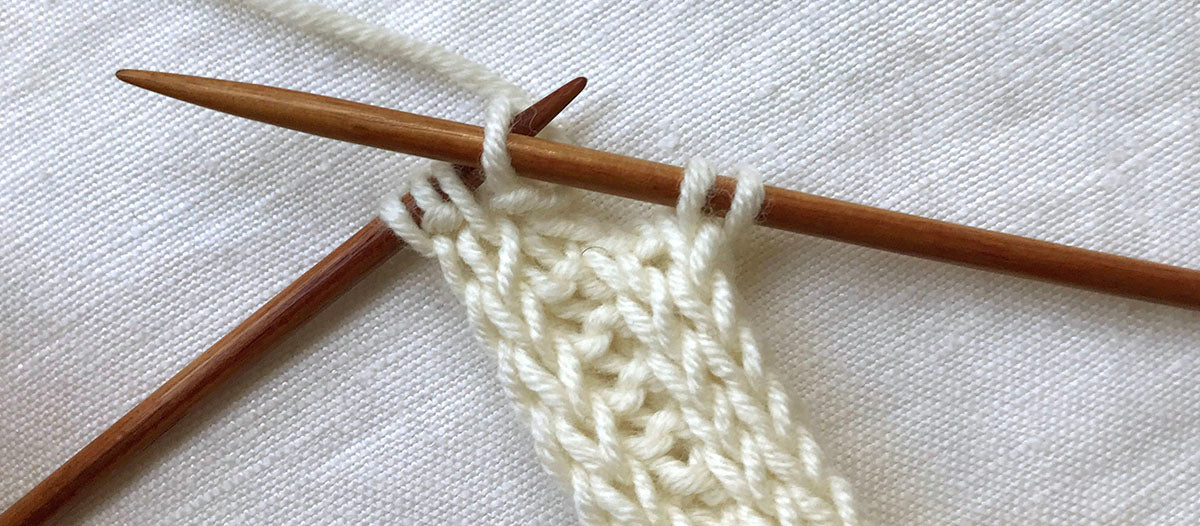
Bind off.
1 stitch remains after binding off the edge (pink arrow).

2. Pick up & knit 5 sts for buttonband. 6 BB sts

-
MC buttonband: continue to pick up & knit stitches along extension up to Front stitches on LN (pink arrow), then knit your way around to Right Front buttonband.
- For CC buttonband: with MC at the start of the extension (orange arrow) and going from left to right toward the buttonband, pick up & knit stitches up to the buttonband.
Lay CC over MC, then work the next RS row with MC across front and back to Right Front buttonband.
RIGHT BUTTONBAND

1. Set Front stitches aside.
Knit an extension of the buttonband to match the Left buttonband, starting with a WS row, then alternating the RS & WS rows below – but make a BUTTONHOLE 5 rows before binding off (see also buttonhole tutorial and crochet cast on tutorial).
note: make your own favourite buttonhole – if it's a 1-row or 2-row buttonhole, adjust accordingly (mine is a 3-row buttonhole).
RS: sl1wyf, ksk, k1, ksk.
WS: (sl1wyf, k1) x 4.

2. Make a 3-row buttonhole (pink arrow) 5 rows before binding off as follows:
BR1 (RS): sl1wyf, k1, bind off 2 sts, ksk.
BR2 (WS): sks, turn work over to RS is facing, borrow last st for cast on loop, crochet cast on 3 sts, replace loop onto LN (make a final chain st but not around the needle, turn work over so WS is facing), sl1wyf, k1, pick up twisted loop in bar before cast on, pass 2 sts back to LN (twisted loop and sl st), ssk, sl1wyf, k2, k2tog, sl1wyf, k1.
BR3: sl1wyf, k1, sl1 knitwise, bind off 2 sts, ksk.
Work another WS and RS row.
3. Bind off from WS as follows:
p2tog, pass stitch over to bind off, bind off 3 sts purlwise, p2tog tbl, pass st over to bind off (1 st remains), p&p5 sts – do this from RS to make it pretty – in the slipped stitch edge of the extension (white arrow). 6 Right buttonband sts
-
MC buttonband (WS): continue to p&p stitches along the extension up to front stitches, (orange arrow), then purl your way around to Left buttonband.
- For CC buttonband: with MC at the start of the extension (orange arrow) and from RS, p&k stitches up to the buttonband.
With CC, M1L, ksk, k2, M1L, k1. 8 Right buttonband sts
WS: with CC, (sl1wyf, k1) x 4, with MC, purl your way around to Left buttonband.
LEFT BUTTONBAND again
increase from 6 to 8 buttonband sts as follows:
k1, sl1wyf, M1L, sks, M1L, sl1wyf. 8 Left buttonband sts.
 You are all set.
Continue to knit the buttonbands along with the fronts.
Make buttonholes evenly spaced in right buttonband. See buttonhole tutorial.