Nondaily Tip No. 6: wind a centre-pull ball
 The raison d’être of the centre-pull ball?
Well, let’s not go into that. Let’s just say there are many advantages.
Just to mention one: the yarn slides quietly and neatly from the inside of your ball without getting scuffed and ruffled. Knitting from the outside makes the ball dance around and maybe roll a lot. This can be harsh on a delicate yarn. And makes the ball go all over the place, which can be hard on delicate knitters’ nerves.
A centre-pulled skein is just more dignified.
It stays in place.
It pulls goodies out from the depths of its being little by little, and only when asked.
This tutorial is only ONE way to do it. There are doubtless many ways and many tutorials. This just happens to be how I do it and requires no tools or implements.
Well, the yarn.
And your hands.
Possibly a winder but knees or a chair will also do.
This is how you do it
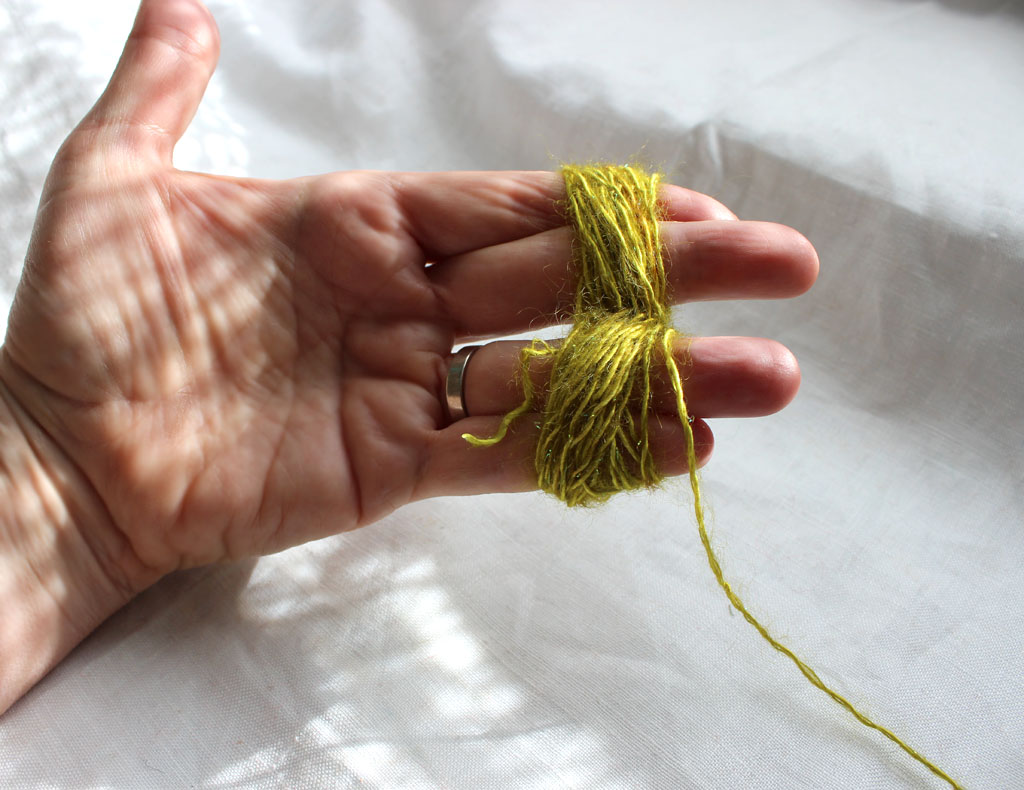
You begin by making a small BUTTERFLY. This is your (future) centre, the kernel.
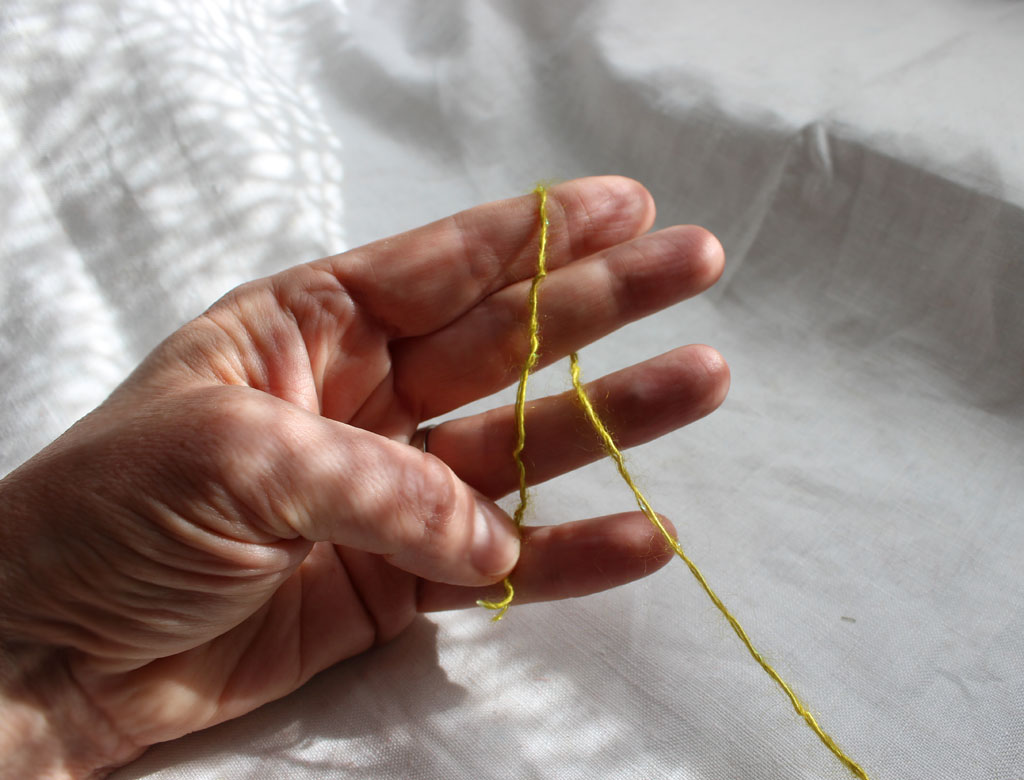
BUTTERFLY Place the yarn as in the photo. Short end palmside, long end up over the back of and around two top fingers.
Then bring yarn through to palmside between middle and ring finger.
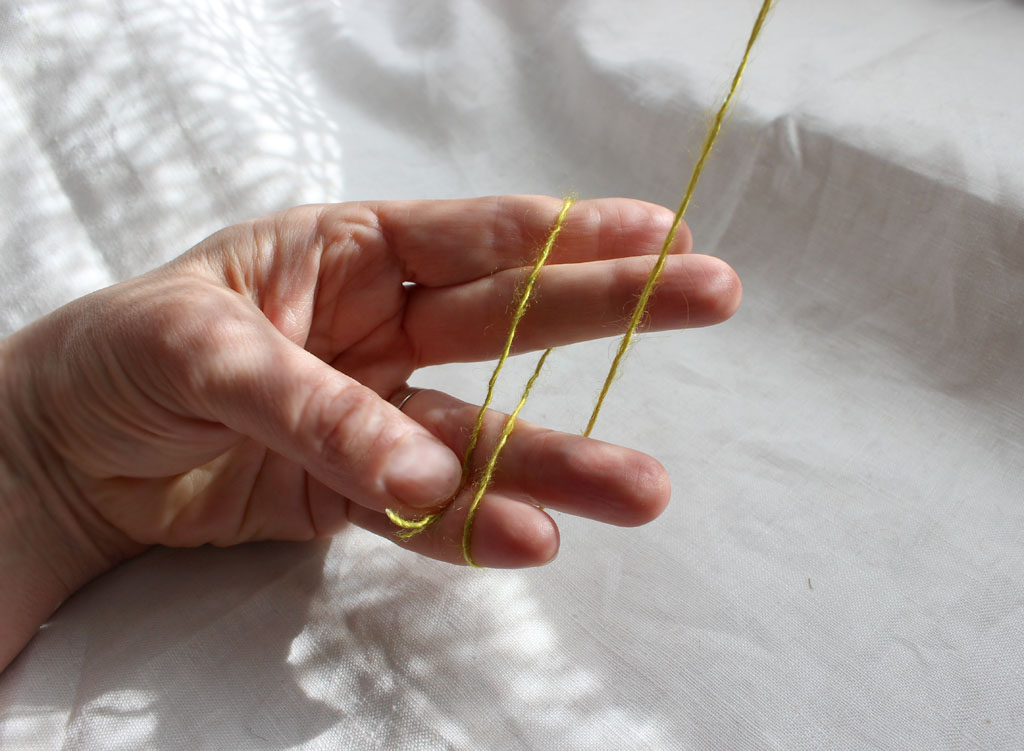
BUTTERFLY Bring yarn down and then up the back of your two bottom fingers.
Then bring yarn from back, between ring and middle fingers, through to palm side again.
The yarn is always criss-crossing in the centre.
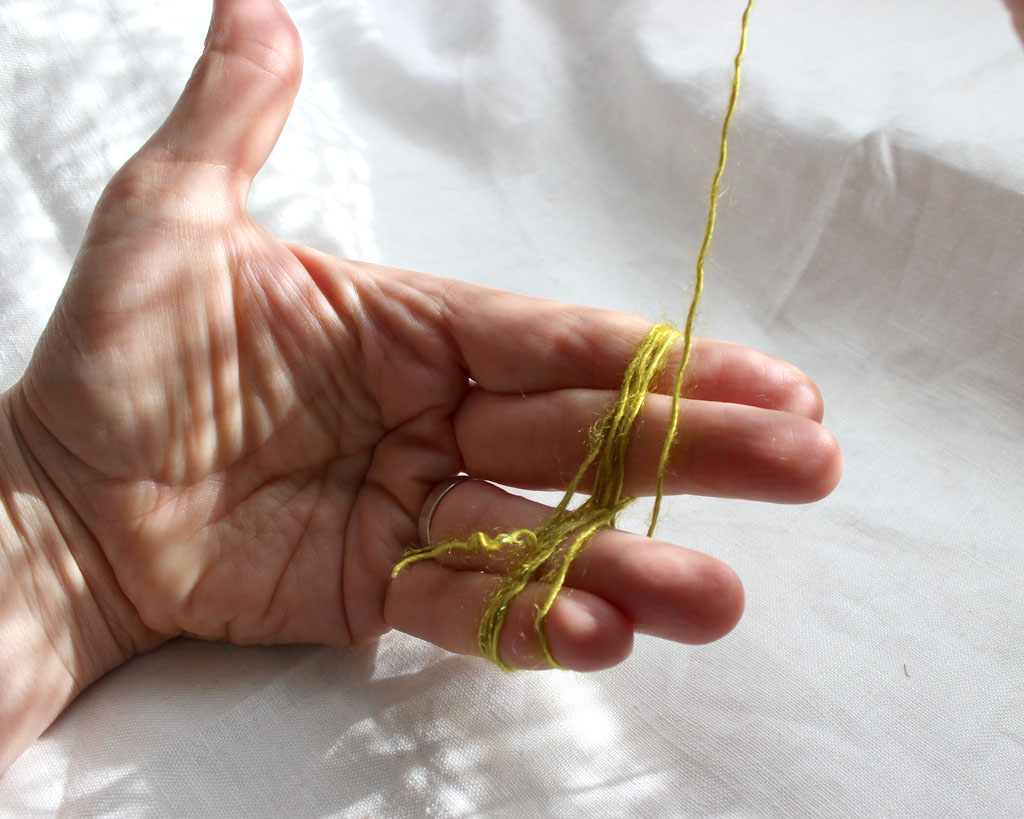
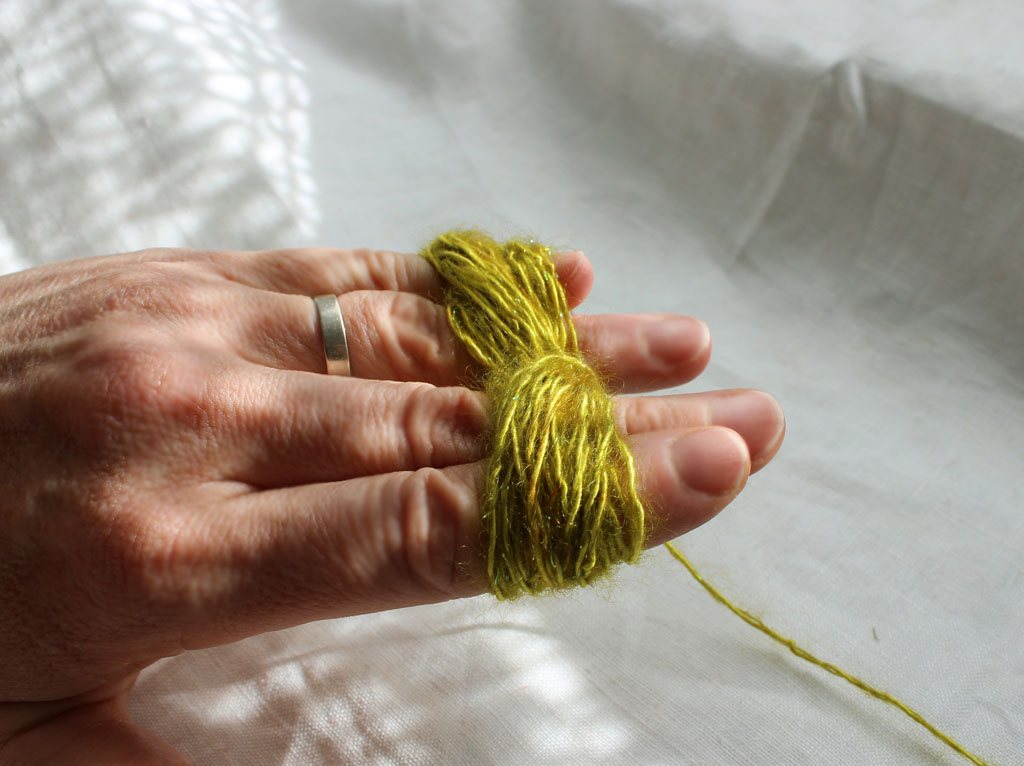
BUTTERFLY Keep winding in this criss-crossing fashion until you have a plump little winding of yarn.
BUTTERFLY Palm view of plump winding.
BUTTERFLY Rear view.
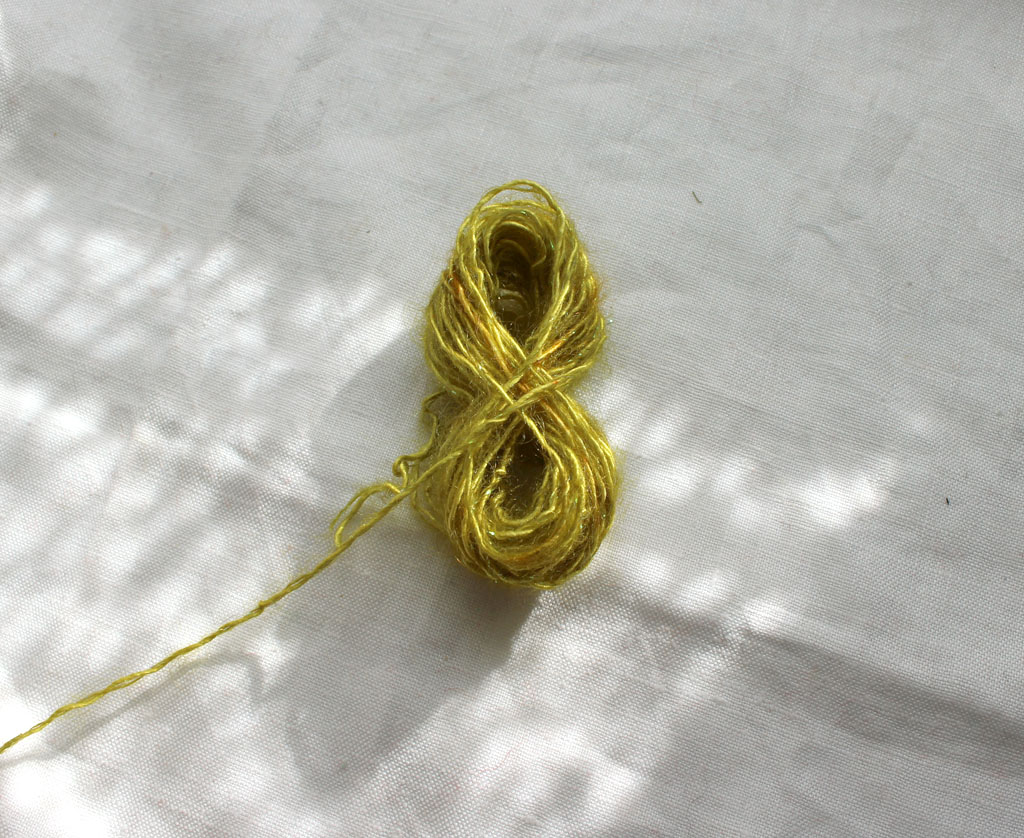
BUTTERFLY Now slide the wound parcel off your hand and behold the complete butterfly. Pretty!
Now you will transform and/or will the butterfly into a ball. The beginning, like many beginnings, is not beautiful.
Not to worry.
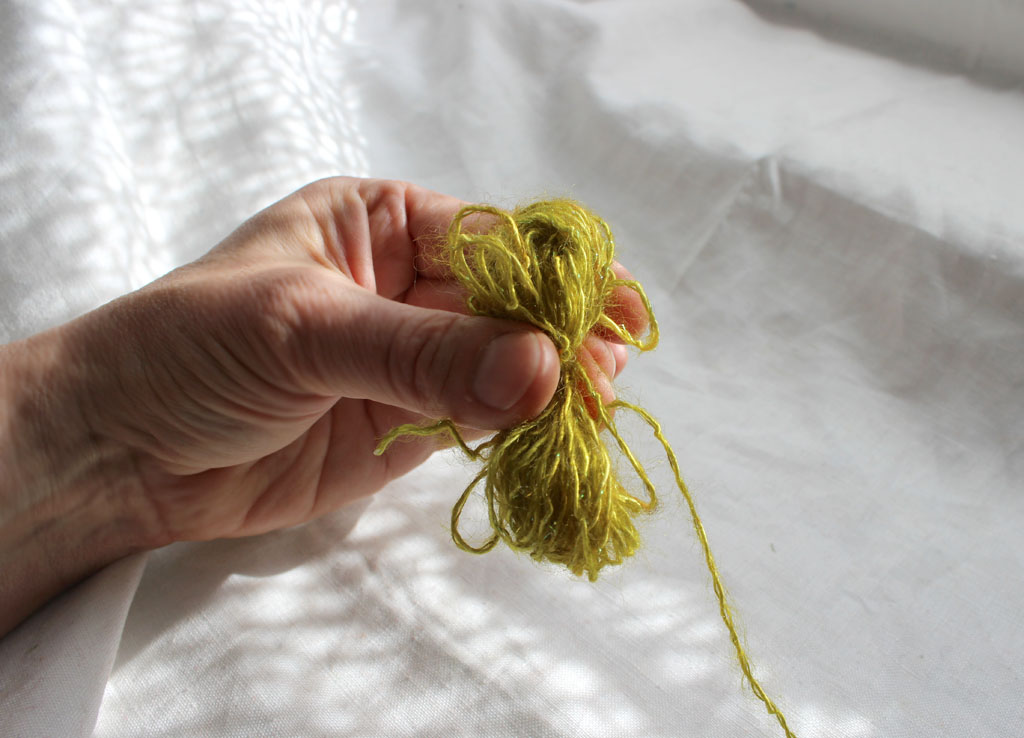
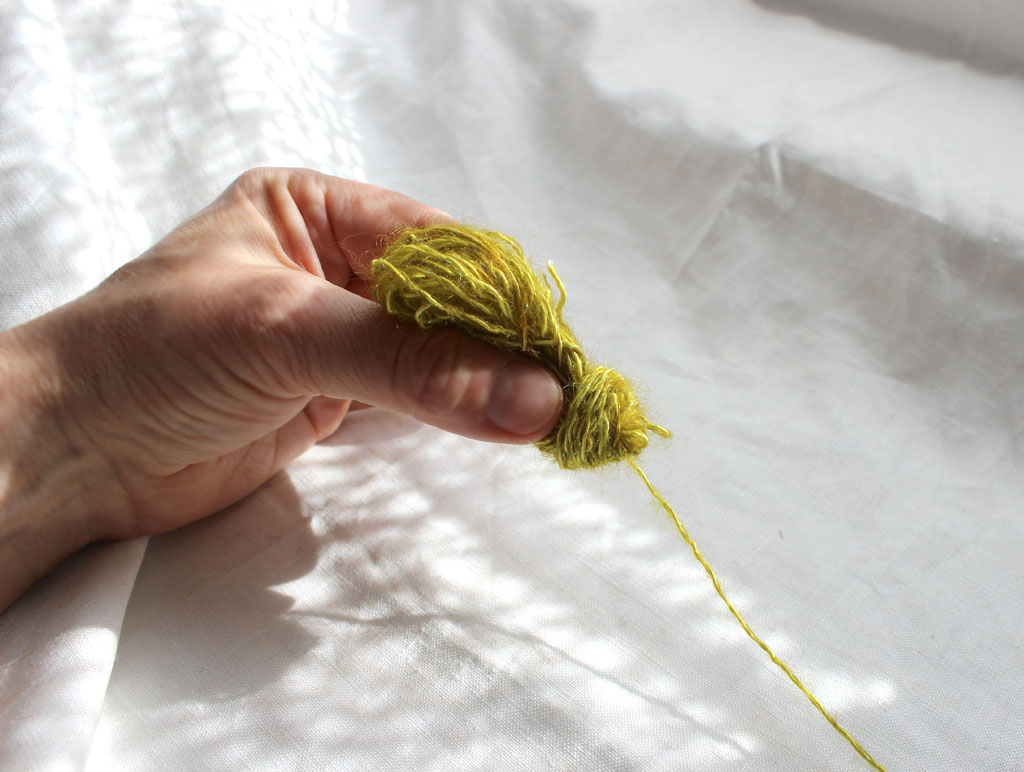
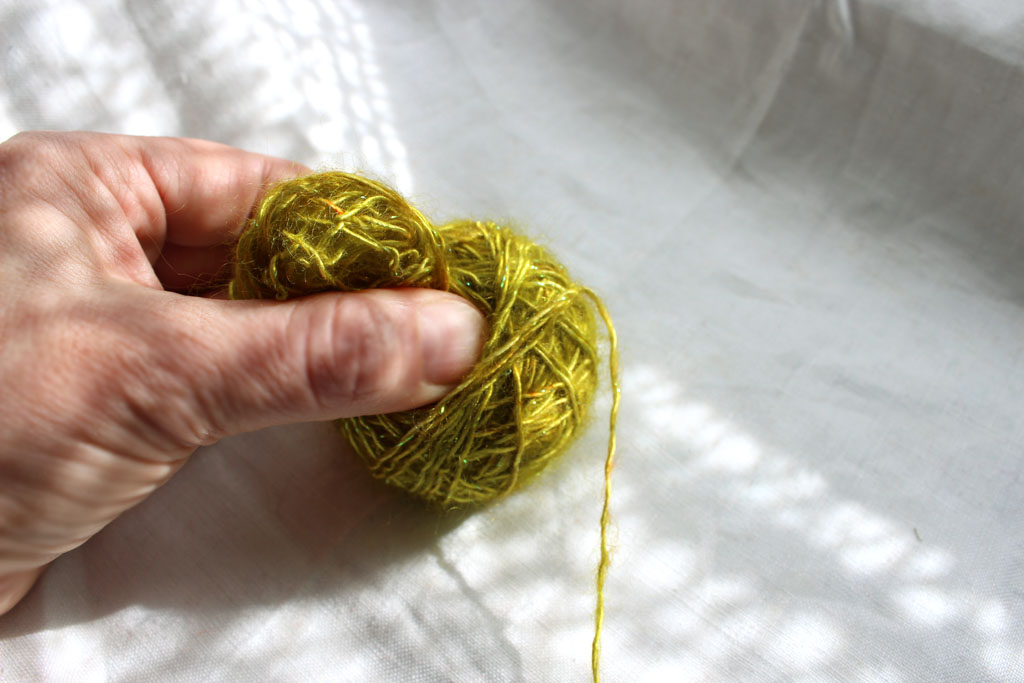
WINDING Pinch the butterfly between your thumb and middle finger.
The top half remains free and visible.
The bottom half will be gradually enclosed.

WINDING The first few winds may be a bit awkward and uncooperative. You are trying to make a mini ball of the little stump that is sticking out below the pinch. It doesn’t matter if it’s neither beautiful nor even.
WINDING Just try to make it roughly ball-shaped, wind by wind.

WINDING Fairly soon you’ll have a cute skeinlet with a disproportionally big tuft wanting to break free of it. Do not let it!
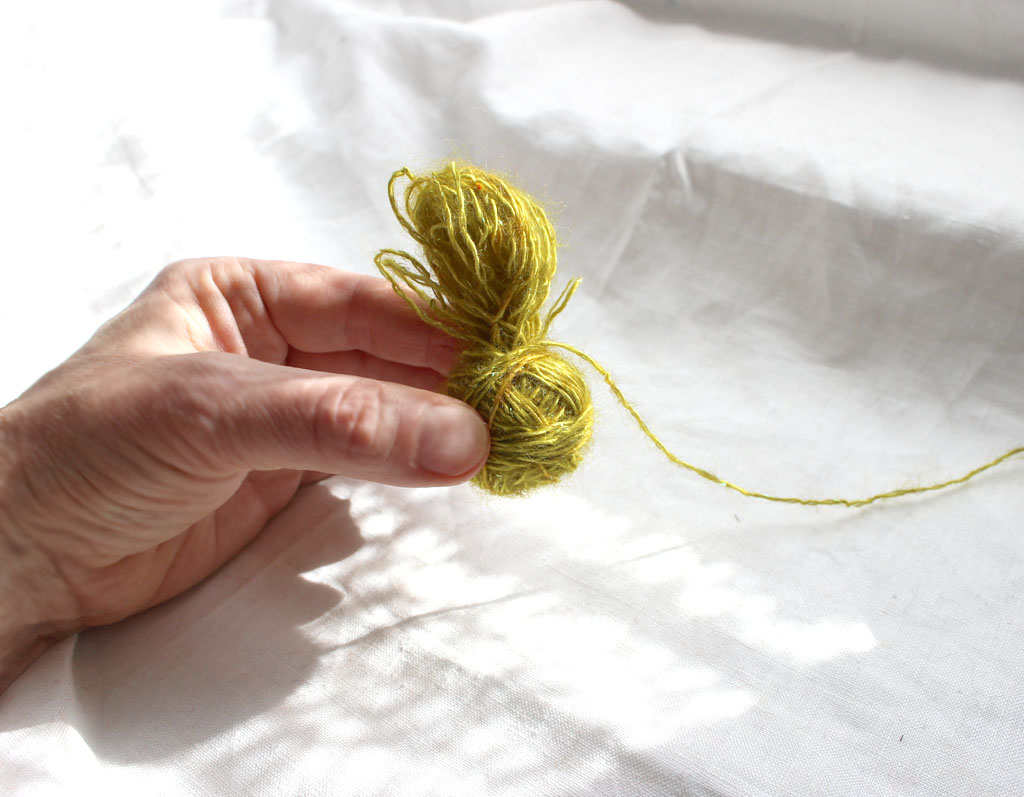
WINDING Keep winding and watch the proportions slowly change.
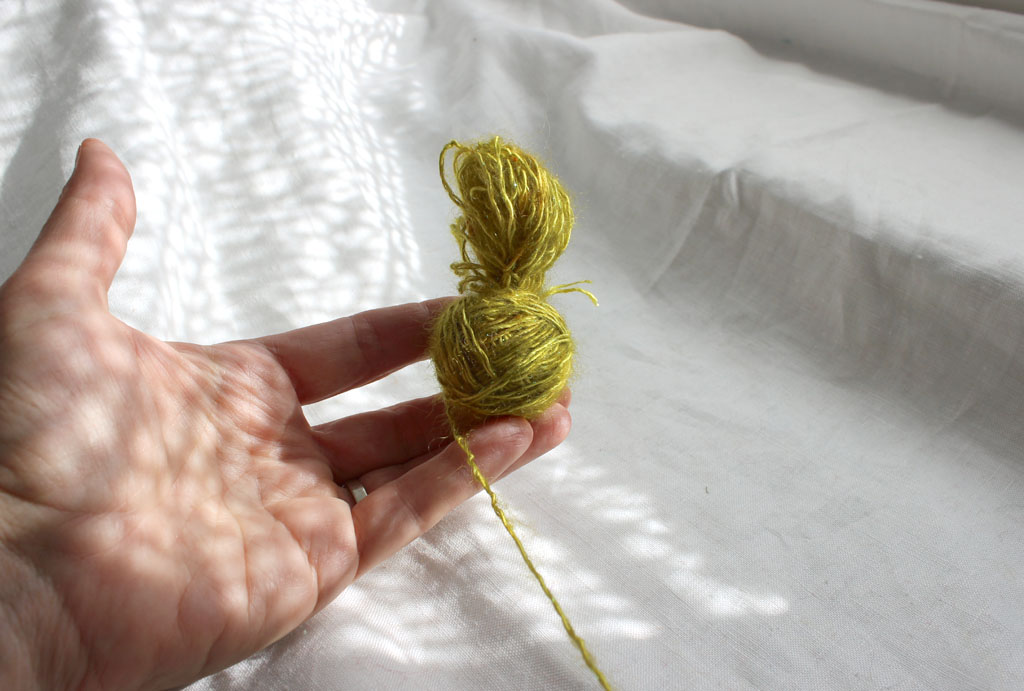
WINDING Look! A toddler ball.

WINDING From skeinlet to proper ball.
WINDING A tip: press your thumb into the hole at the base of the tuft, so as to protect it and the tuft from becoming engulfed – wind partially over your thumb.
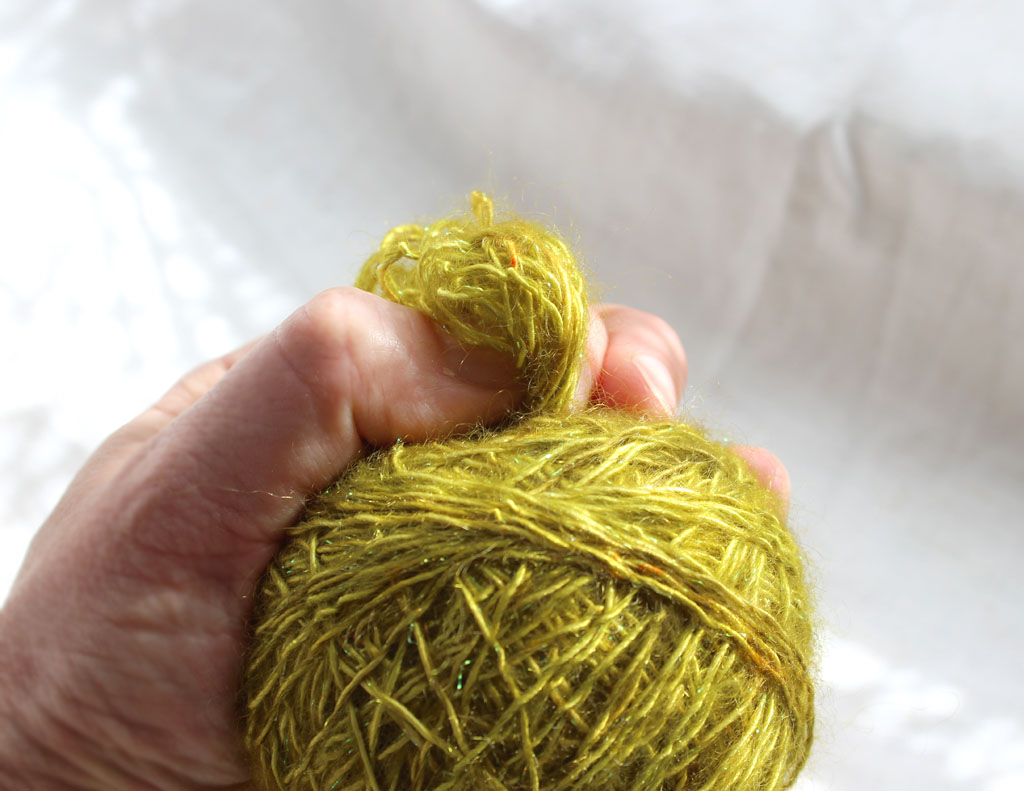
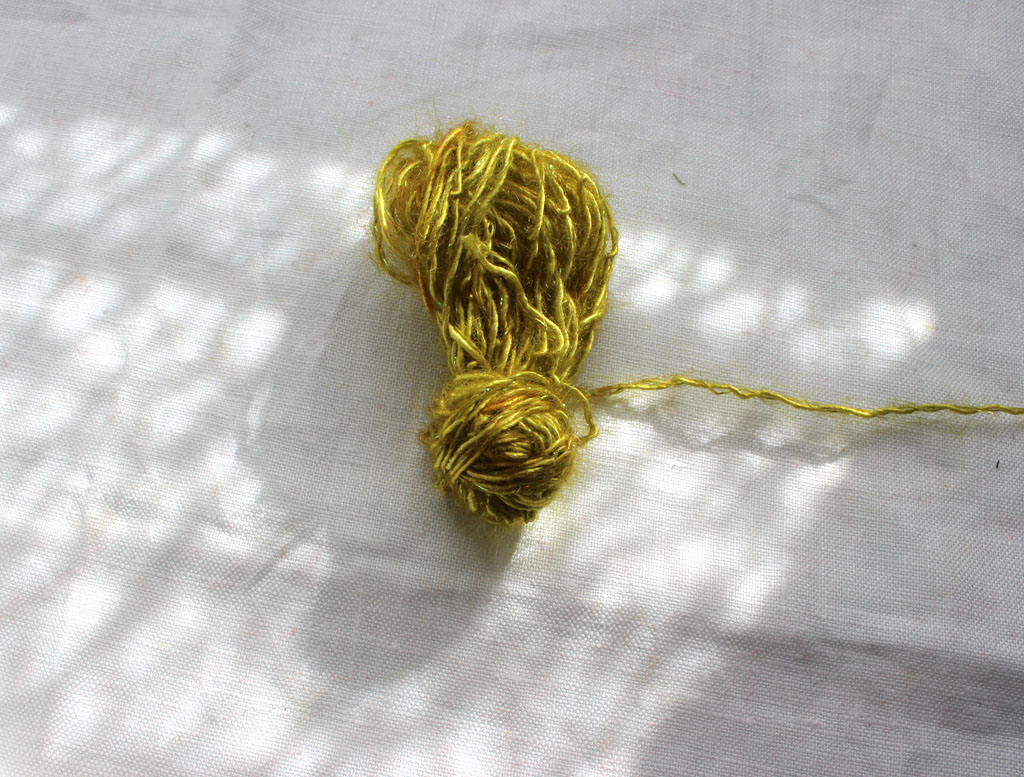
WINDING Depending on yardage and thickness the growing ball may indeed threaten to engulf the bit that needs to remain free. If so, perform a controlled pull on the tuft, being careful not to pull it loose.
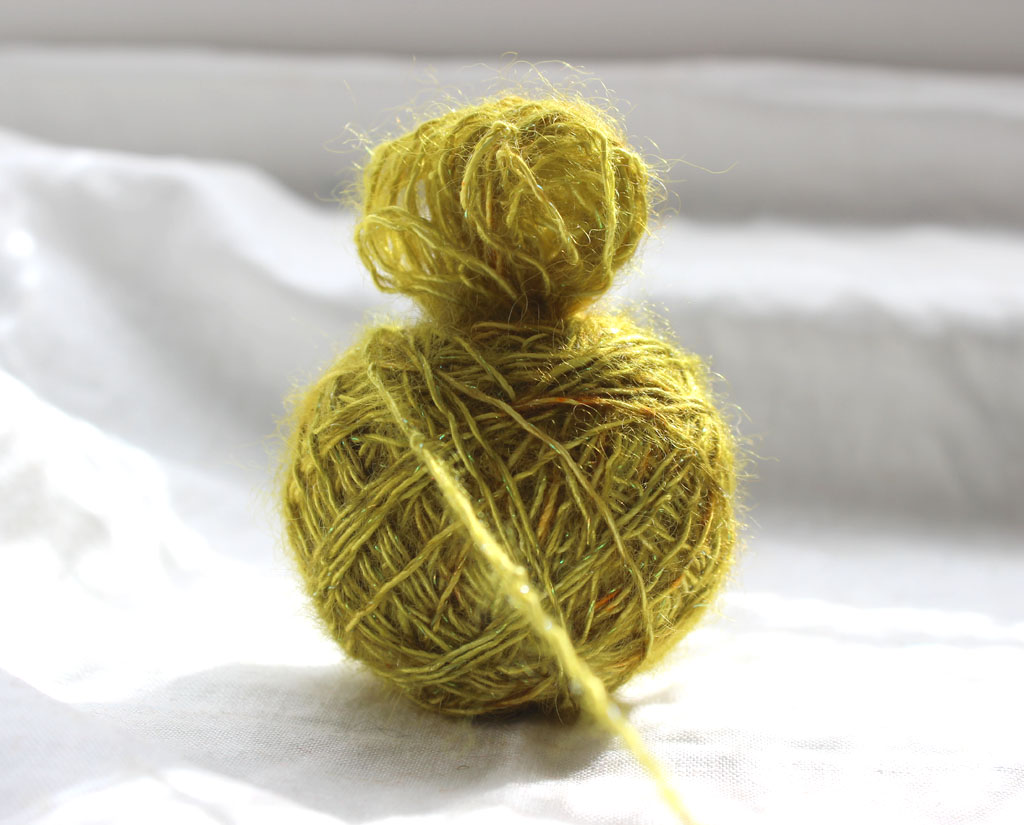
Done!
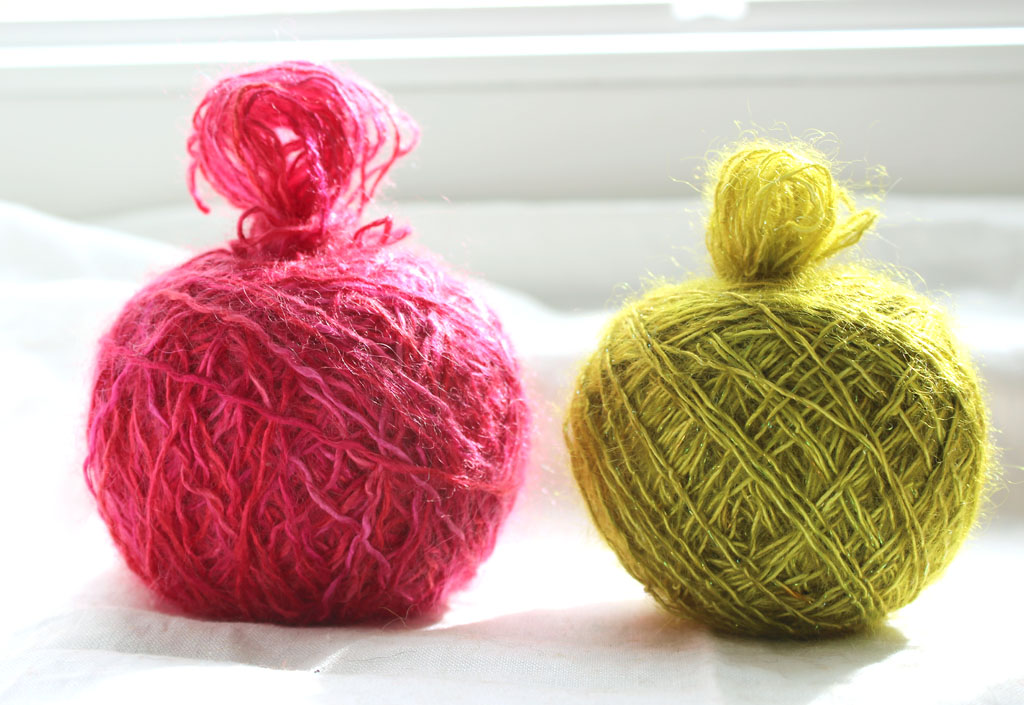
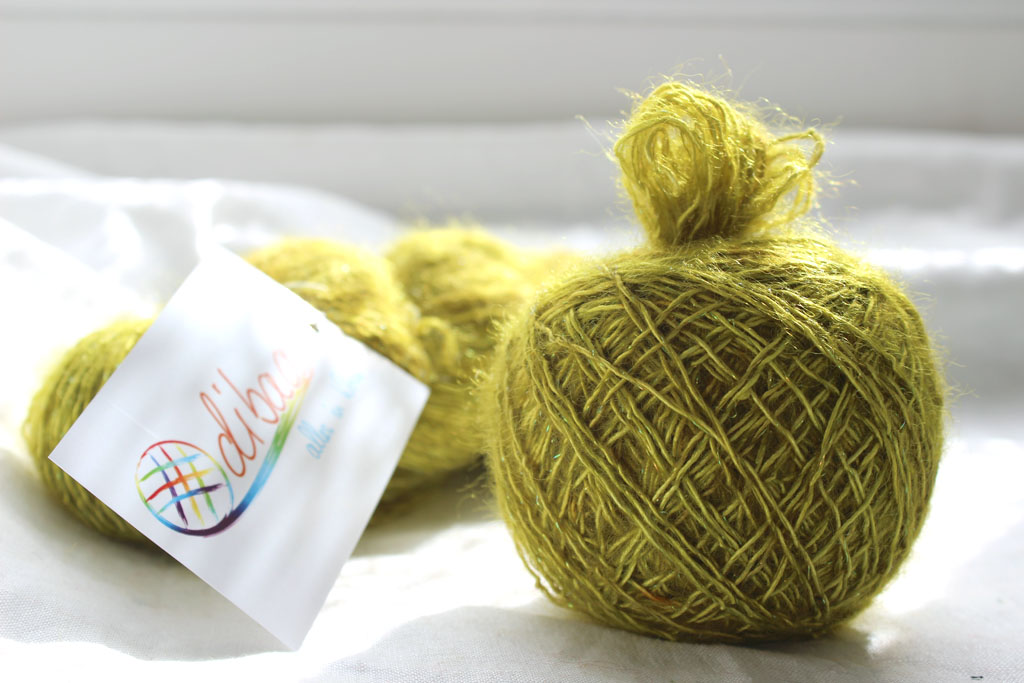
Two done!
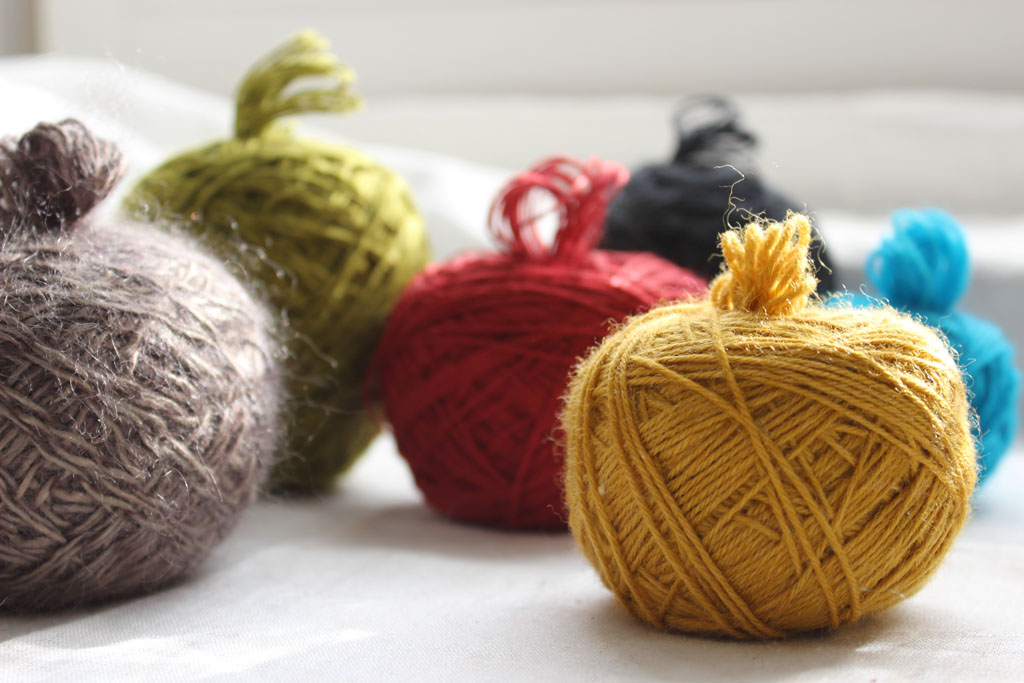
It is of course entirely coincidental that these particular yarns, Faery Wings by Fyberspates and Curly Irisé by Dibadu are so eminently suitable for my first ever Mystery KnitAlong design, Mysteriosa.
(This fun KAL ran in 2014).
Want to know what’s up my knitted sleeve? Sign up for the occasional Åsa Tricosa Newsletter.

8 Comments
You are so much fun! I hope you are smiling as you share these gems with us. I certainly am.
Thanks!
Me smiling — > 🙂
(Thanks! And yes, I am)
Just to let you know that I find your “nondaily tips” very useful.
Thank you,
I’m a fan of your “non-blog”.
Ada
Thank you, Ada!
I’m so pleased to know.
Knit with abandon!
/åsa
I’m doing everything – with abandon… feeling isolated 20July2020 and addicted to eating out isn’t helping.
Plus, my knitting is put aside – and that’s not good either.
I’m here because I’m hoping to get unabandoned. 😉
Ah! Yes. Please feel free to make yourself unabandoned and at home here or – if you are a Raveler (and don’t have problems with their redesign), you’ll find even more unabandondness and rescue missions in the Åsa Tricosa Ravelry group – it’s a bit of a home away from home for many of us. Not least for me.
Oh, and do pick up that knitting of yours! It too is hoping to get unabandoned, I am sure!
LOVE your Ziggurat book…been using it to create my own patterns–the detailed instructions make it so easy to do a bit of this a bit of that. As for center-pull balls… I find that toward the end they all collapse and end up in a snarl. So I switched to pulling from the outside (use a winder, then put a folded up toilet paper roll in the center to hold the ball in shape and avoid a collapsing mess). Any suggestions on how to avoid having a center pull ball not cave in on itself and get all tangled up? Thanks so much! Here’s to gray SHORT hair!
So glad that you can make such good use of the book and make your own designs – that’s exactly what I was hoping for when I made the book.
The collapsing balls… I don’t have a great answer. Some knitters use a small, snug pouch with a drawstring (or a yarn bra) to keep the ball together. Towards the final collapse, I often rewind the last bit of yarn into a smaller (non-centre pull) ball.