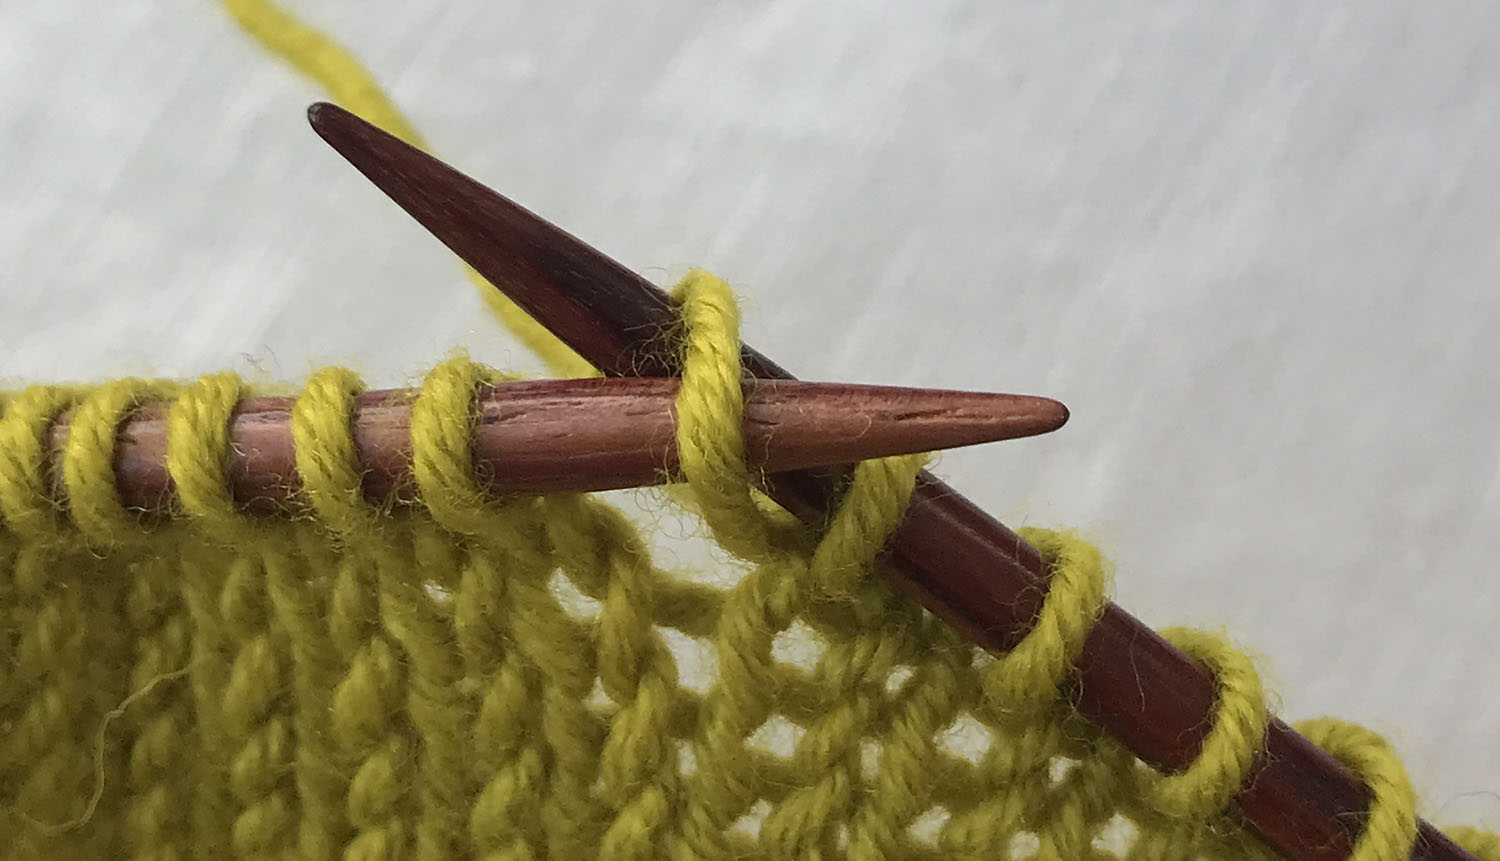
a photo tutorial from the First Ziggurat Book
This and BL1/FL1 are the increases I use most.
You will find M1L/M1L in most Ziggurat sleeve caps.
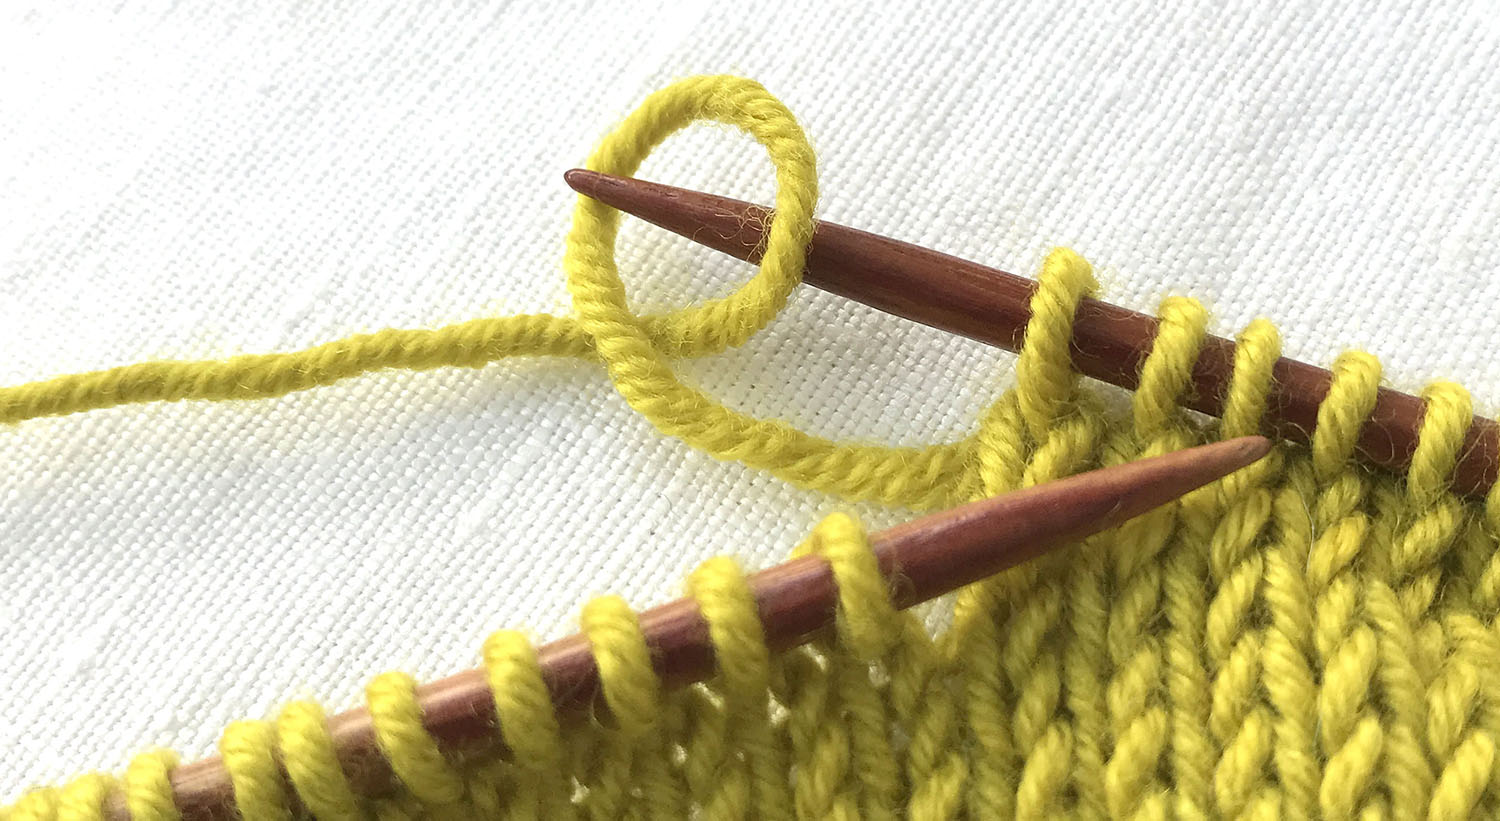
M1L – Make 1 Left
 1. Insert LN from front and below into bar between stitches. Knit into back leg of the lifted bar.
 2. Done.
M1Lp – Make 1 Left Purl
 1. Insert LN from and below into bar between stitches.
 2. Purl into back leg of lifted bar.
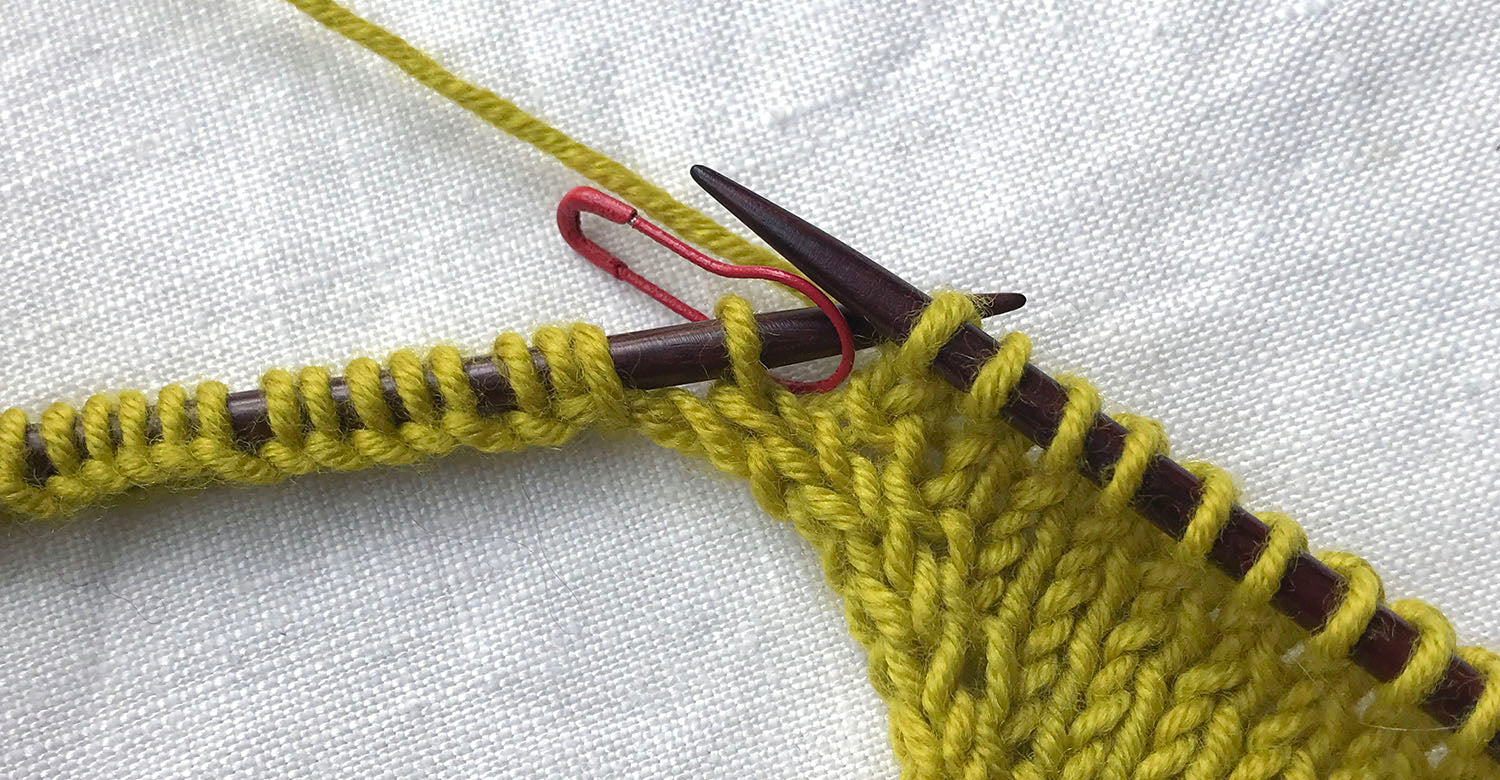
M1R – Make 1 Right
 1. Insert LN from REAR (Rear for Right) and below into bar between stitches.
 2. Knit into Front leg of the lifted bar. Use your left index finger to push on the twisted loop (toward you) to create a little extra space for the RN.

3. Done.
M1Rp – Make 1 Right Purl
 1. Insert LN from REAR (Rear for Right) into bar between stitches.
Purl into front leg of lifted bar. Done.