Nondaily Tip No. 7: M1R (and M1L) in a pinch
This is just a teeny tip.
You may already be doing just this.
Or you may have some other way of making those Make One Right increases more manageable.
But just in case you don’t, here’s a way how.
And the tip concerns mainly the M1R for it is the peskier one.
Oh, and alright. I’ll also confess to always and forever getting confused about my Lefts and Rights when they need to happen on every row, on both Right Side and Wrong Side. There is help.
But first let’s just look at M1R.
M1R (Make One Right) Mnemonic
RIGHT – REAR
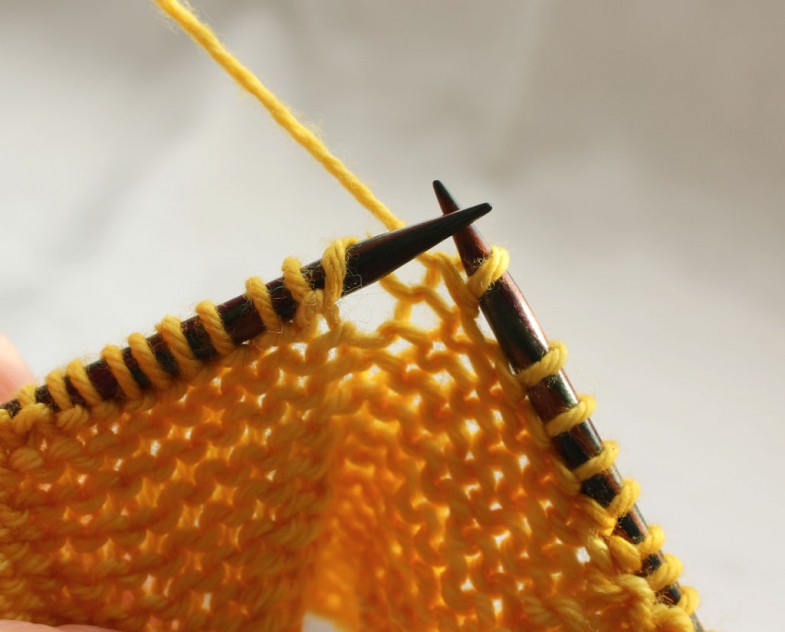
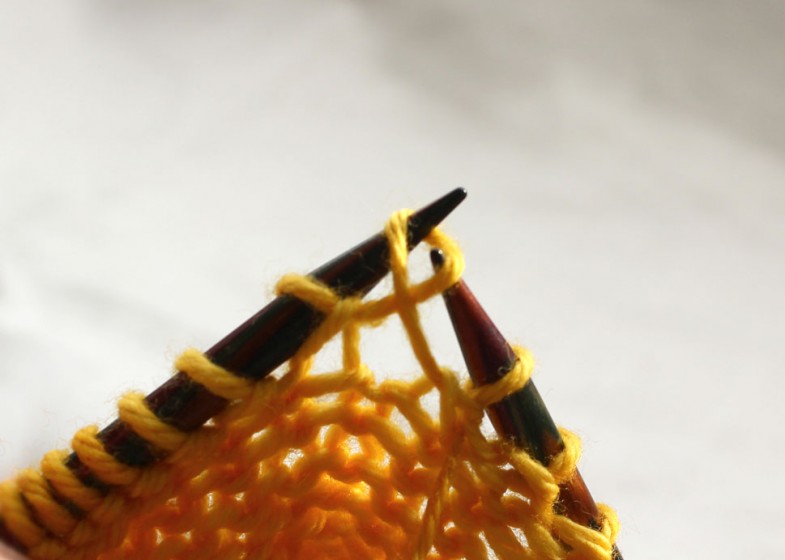
For M1R (and M1Rp) the Left Needle goes into the bar from the REAR (from behind).
Like so:
Then you knit (M1R) or purl (M1Rp) into the front leg.
This can be a bit tricky and often involves a little struggle between the tight loop and the needle.
No need.
And this is my actual (rather tiny) tip.
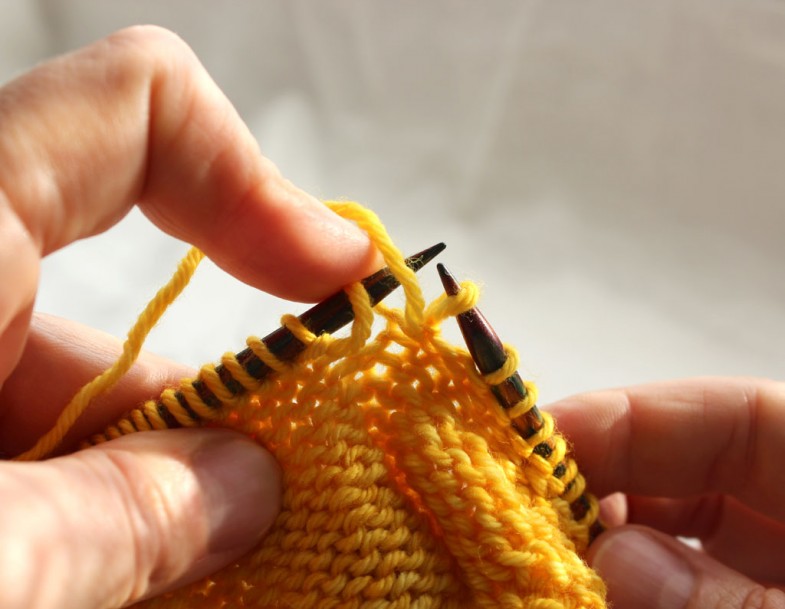
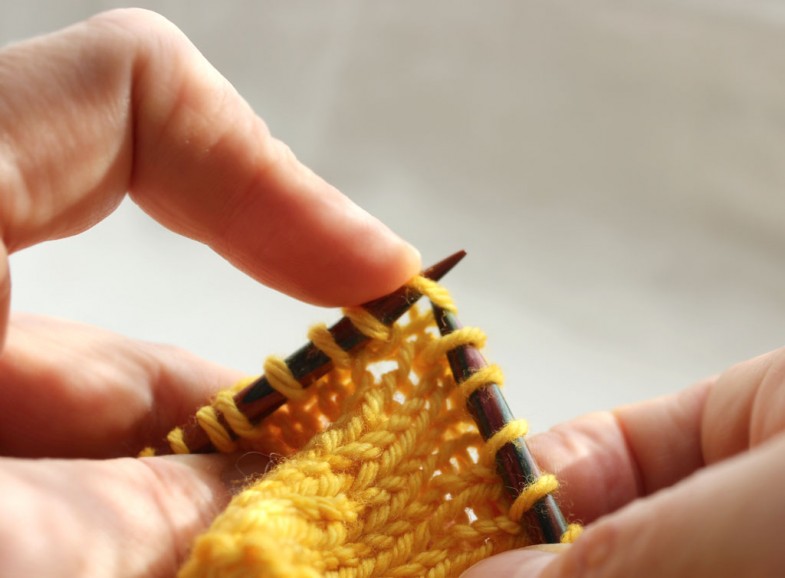
Pinch or push the loop into place with your index finger. Like so:
Push down on the loop and feed it toward you to make it bulge in front of the needle.
You’re creating space for the Right Needle so it can do its business, that is, purling or knitting into the front leg – in this case purling for a M1Rp.
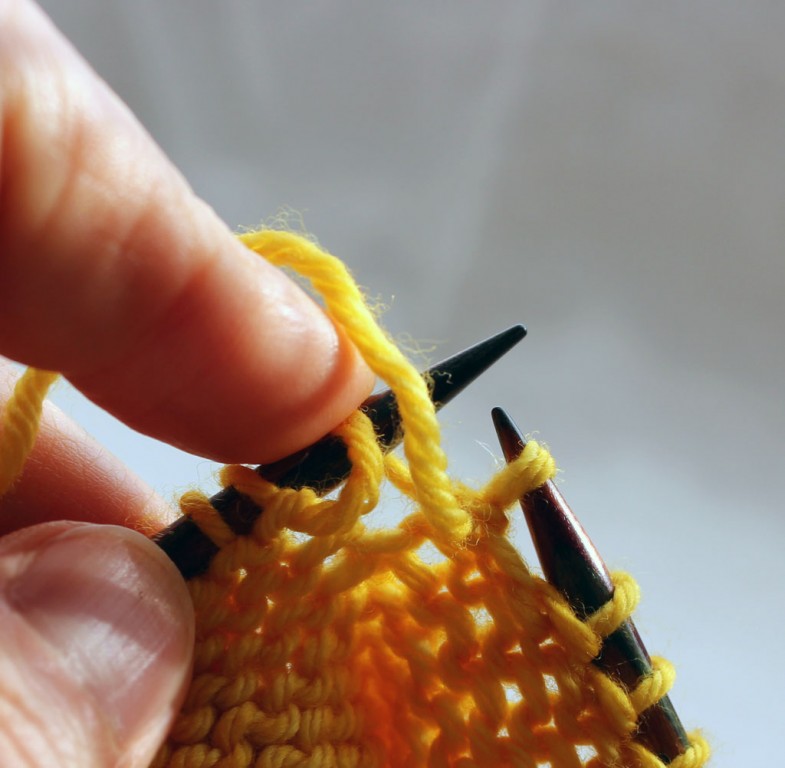
See, push even a little more perhaps:
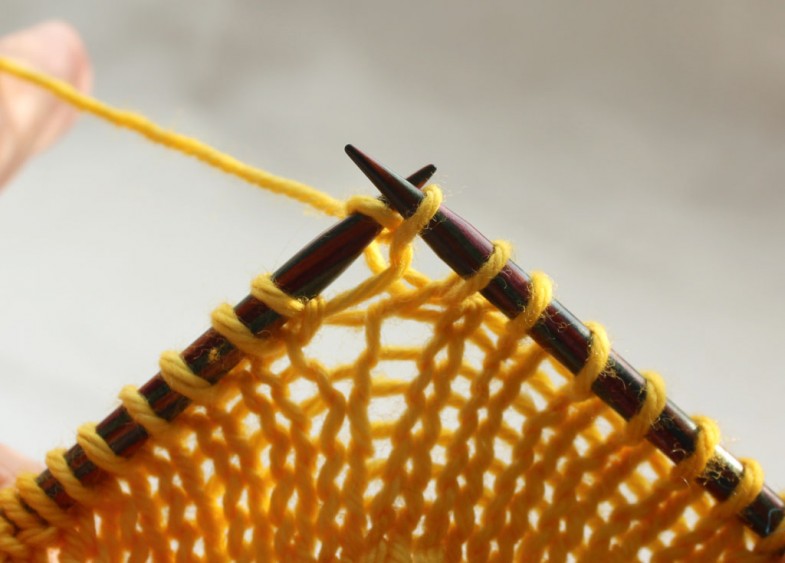
Keep holding the loop in place as you insert your Right Needle.
And then you simply purl (M1Rp):
On the knitted side of things you knit. Keep pinching the loop while inserting Right Needle…:
…then knit into front leg (M1R):
In the case above an increase was made also on the preceding row (a M1Rp) – and you can see how the two increases are leaning in the same direction, namely to the RIGHT.
What about the M1L (Make One Left)?
LEFT … well, it’s the not-right, not-rear way… or perhaps it’s L for the LAZY way?
For knitted increases it’s the one that comes most naturally (to me, at least) and probably the one you too would make if no direction is specified – you may be told to simply M1 (make one).
(The M1Lp is a more twisted affair and my way of doing it is probably not helpful to anyone but me so I’m just going to show the normal sane way below.)
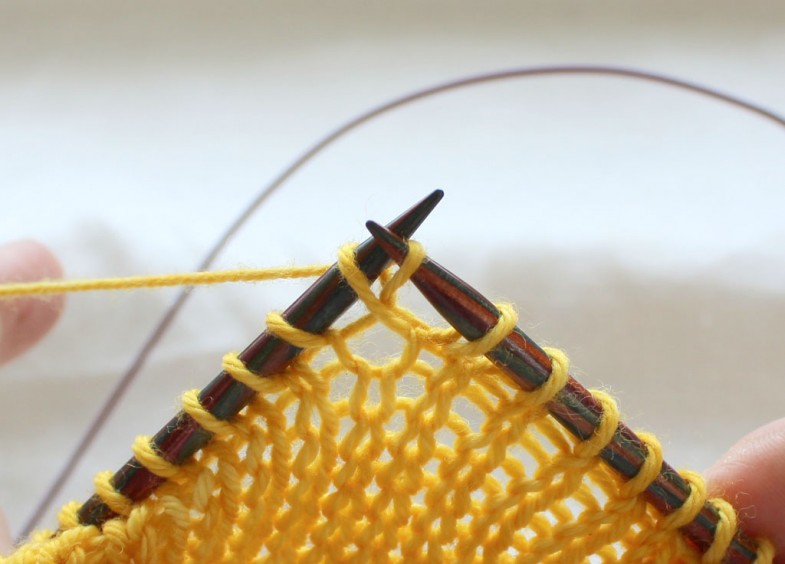
For a M1L (or a M1Lp) increase, you insert the Left Needle from the Front.
On the knitted side of things, knit into the back leg (k1tbl) of the bar-loop. Voilà, a M1L:
On the purled side of things, purl into the back leg for the M1Lp:
All done!
You can stop reading here…
What follows may confuse things if you are simply trying to get a grip on M1L and M1R (and the pinch).
You already have the info you need to make your increases lean the way you wish, and a mnemonic for remembering which is which (RIGHT–REAR).
Right Needle helps things along
But why leave well enough alone?
If you’re still reading, I’ll illustrate (maybe unnecessarily) why the knitted M1L seems more natural (to me).
(Now that we have the RIGHT-REAR mnemonic, I don’t need to think NaturaLeft, but I still do.)
OK, so you are usually told to insert your Left Needle into the bar from the front.
This is not what makes the M1L natural. Rather, it’s what makes instructions clear and comprehensible.
What makes the M1L natural or Lazy is – you can use your Right Needle to help things along.
And that’s what I do, for the Right Needle (RN) is my working needle.
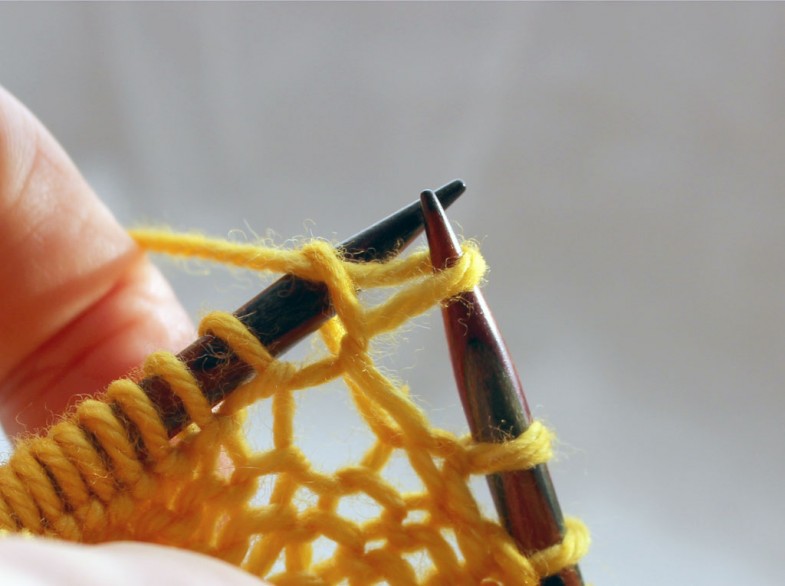
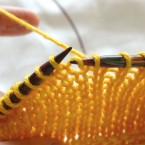
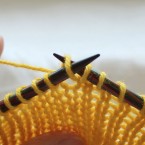
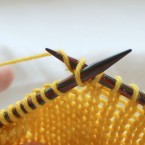
Which looks like this (click on images for larger views):
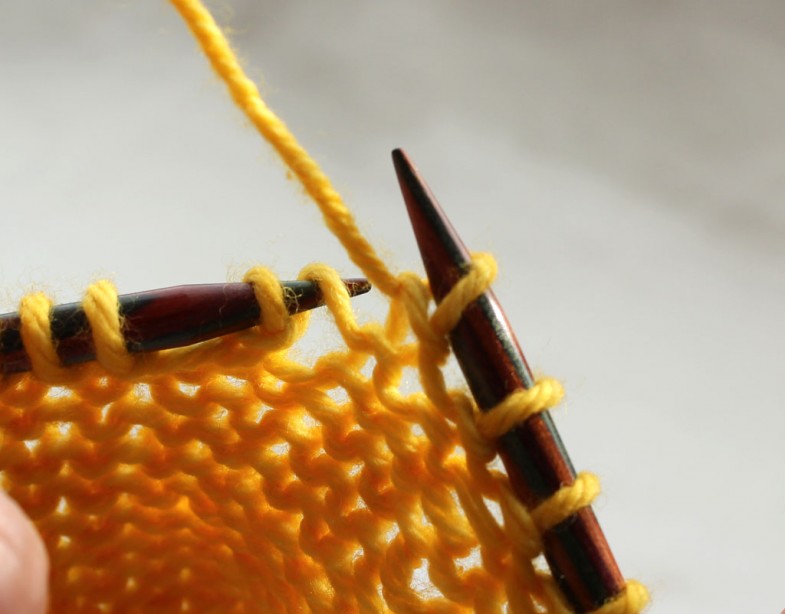
Use the Right Needle to pick up the bar to place it on Left Needle (LN).
The Right Needle goes in from rear to place the bar on Left Needle (inserted from FRONT) and with RN still inside the loop proceed to knit the back leg (k1tbl) of the loop.
It’s one sweeping, continuous movement.
That’s what makes the M1L natural.
To me.
One last thing…
To make every-row increases lean consistently in the same direction, you need to mirror them.
A Leftie on the Right Side is a Leftie also on the Wrong Side…
In plain stocking stitch, to create on your RIGHT (knitted) SIDE a string of left-leaning increases (M1L), one above the other as for example along a shawl edge, you’ll do M1L on the Right Side – on the Wrong Side you’ll do a M1Lp.
This is how the every-row edge increases are made for the edges of, just as for an exaaaaample, Mysteriosa (my first MKAL).
On every Right Side you start with a M1L and end with a M1R.
On every Wrong Side you start with a M1Rp and end with a M1Lp.
It could have been the other way around (as it would be for a heel or thumb gusset*) – as long as it’s consistently the other way around.
For this shawl I just decided that this is how I like to lean my increases.
*For a thumb or heel gusset that emerges in the midst of knitted fabric you want the right edge to lean right and the left edge to lean left. Shawl edges are different.
Yarn used in photos: Fyberspates Vivacious DK in the colour Sunshine
Definition of tiny or teeny: clearly unknown to the author
Want to know what’s up my knitted sleeve? Sign up for the occasional Åsa Tricosa Newsletter.

13 Comments
Love this! My mnemonic is “Left behind” and “Right in front”, as these are both common English expressions and it tells me where I am making the stitch.
I agree that M1L is much more natural to the hands.
Love the idea about the pinch on M1R!
I remember M1R and M1L by which way my right need points as I’m entering the stitch on the left needle.
In M1R it doesn’t point all the way to right but enough that I can remember.
I do love how everyone has their own little tricks and mnemonics. Interesting!
(Then there are some things I’ve tried to pin down so many times that I’ve confused myself with my own tricks and will now never remember the proper way and will always have to look it up…)
Your ‘extra’ tips are so very helpful! I am knitting a project that requires smaller needle size to create a tighter knit look, but knitting a m1R and m1L is nearly impossible and I was ready to pull my hair out. And thank you for the photos as well, very helpful!
My mnemonic is “left through the front door, be right back“.
i would like to know. could you substitute knit thru front and back for the increases in the beginning. i have a pattern where you cast on a row of sts then the very next row you are k1 m1l k2 m1l then knit to 3 sts left and m1r then k last 3 sts. this is very difficult to accomplish on the very first row.
It depends…
Designers often use a favourite increase – sometimes because it’s their go-to increase, but sometimes because it works best visually in a pattern. And that’s how choose my increases and decreases, too.
That doesn’t mean you have to follow.
Your pattern likely uses directional (left-leaning and right-leaning) increases for a good reason. But maybe it doesn’t make big enough of a difference to YOU to bother with that.
If you like the way the kfb looks, then use that.
If it disturbs or distorts your pattern, no.
Perhaps it is an increase that will not really show at all once your project is finished, washed and blocked? If so, you can use any increase you prefer. Good luck with your project!
Hello Asa
I am currently knitting your Sammelsurium pullover, and am having trouble working out th difference between sM1R and bM1R.
I am sorry if these are fairly basic terms, but I am a beginner knitter and cannot work them out.
Thanks
The abbreviations are explained at the beginning of the relevant step:
sM1R = sleeve Make 1 Right
bM1R = body Make 1 Right.
It’s the same type of increase – the “s” and the “b” only indicate where the increase takes place.
My pattern calls for increases worked purlwise on the knit side so as to establish faux seam stitches along the sleeve caps. The first row is: K2, p1, knit to 1 stitch before marker, M1Rpurl, K1, sl m,knit to m, sl m, K1, M1Lpurl,knit to next m, sl m, p1,k1,, p1,sl m, knit to 1 stitch bfore next m, M1R purl, etc etc
How do I do purl increases on the right side ( the knit side??
M1Lp are worked as per above – and it is the same on RS or WS.
I am not sure what kind of faux seam you are knitting (or which pattern), so I cannot be more specific than that.
I’m knitting your Beyond the Wild and using your Ziggurat book as a reference (very helpful!). But here’s my question, I understand the M1L and M1R are supposed to mirror each other, such as along the front edge. But why do the sleeves not mirror each other. It seems to me the 2 back sleeve increases should both be M1R and the 2 front sleeve increases should be both be M1L so the sleeves mirror each other. What am I missing?
Thanks!
Hello (again) Kathy,
By mirroring, I mean mirroring ‘internally’ for each sleeve. In other words, the increases (in this case) both lean outwards from the sleeve toward the faux seam (for each sleeve: SM, M1R, knit to M, M1L, SM)
In some Ziggurats they mirror each other in the opposite direction, that is, lean inwards (for each sleeve: … SM, M1L, knit to M, M1R, SM).
And in this way, the sleeves also mirror each other.
I hope that helps!
Åsa